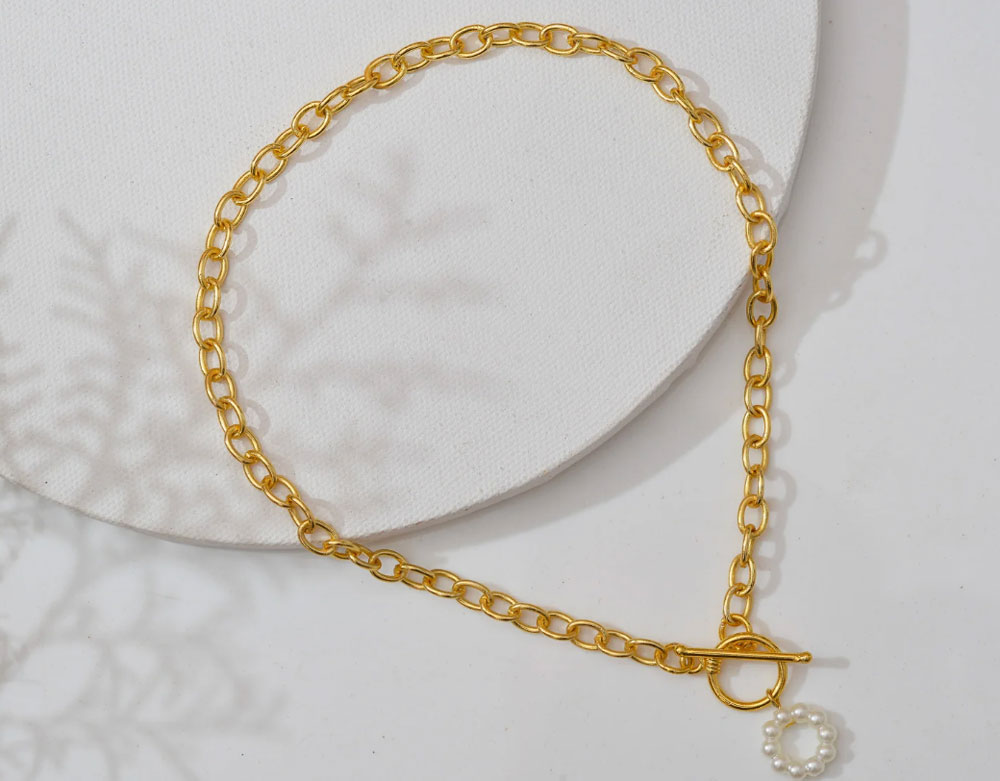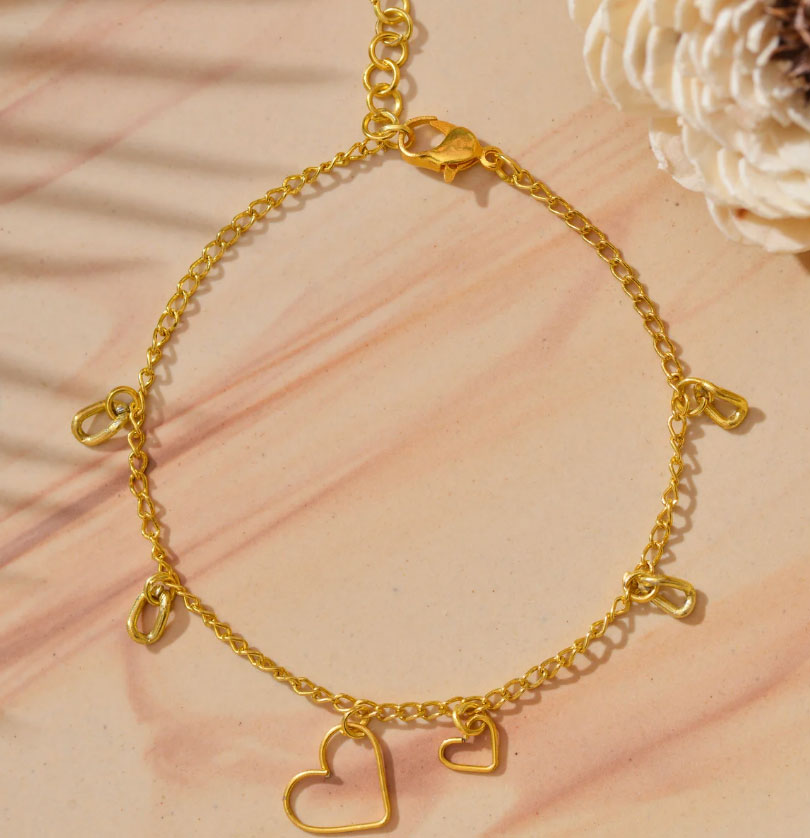
Crafting your own gold charm bracelet can be a rewarding and fulfilling experience. Not only does it allow you to express your creativity, but it also gives you a unique piece of jewelry that reflects your personal style. In this comprehensive guide, we will take you through the process of creating your own gold charm bracelet, from gathering the essential tools and materials to personalizing and customizing your creation. We’ll also provide tips on maintenance and care to ensure that your bracelet lasts for years to come.

Essential Tools and Materials for Gold Charm Bracelet Making
Before crafting your own gold charm bracelets, it is essential to select the right tools and materials. Here’s a rundown of the essentials you’ll need:
- Gold chain
- Lobster clasp
- Jump rings
- Charms/Gold Charms (teardrop or end charm)
- Beads and spacers
- Headpins
- Pliers (round nose and regular)
How to Make a Gold Charm Bracelet? Step-by-Step
After gathering all the materials, it is time to make your own gold charm bracelets. Follow the step-by-step below:
Step 1: Preparing the Chain
First, open a jump ring with pliers, then slide the lobster clasp and one end of the chain onto the jump ring, and securely close it.
Next, attach another jump ring to the other end of the lobster clasp, thread the chain through, and close the jump ring.
Lastly, open a jump ring, connect it to the end of the chain, add the desired end charm, and securely close the jump ring.
Step 2: Arranging Charms and Beads
Begin by organizing gold charms, beads, and spacers to plan your design, considering spacing and color coordination. Then, determine the placement of charms along the chain, establishing spacing and order.
Step 3: Attaching Charms and Beads to the Chain
Select the first charm, open a jump ring, connect the charm to a link on the chain, and securely close the jump ring. Repeat this process for each charm, adjusting spacing as desired.
For beads, slide a bead onto a headpin, use round nose pliers to create a loop at the top of the headpin, attach the loop to a link on the chain, and trim excess wire.

Step 4: Final Touches
Ensure all charms are securely attached and facing forward. Leave room on the chain for adjustability and ensure the lobster clasp functions smoothly.
Finally, review the overall appearance, ensuring a balanced distribution of charms and beads.
Tips for Maintaining Gold Charm Bracelets
Maintaining your gold charm bracelets also matters. You can follow the tips below to ensure they remain in good condition.
Firstly, regular cleaning is essential to keep your bracelets looking their best. Use a few drops of mild soap and warm water to gently clean the surface of the gold charms, and dry with a paper towel or regular cloth. Avoid using strong chemicals or abrasive substances, as they have the potential to harm the delicate finish of the gold.
Secondly, it’s important to store your gold plated charm bracelets properly when they’re not being worn. Ideally, they should be kept in a soft cloth pouch or jewelry box to protect them from scratches and other damage. Avoid storing them in direct sunlight or in areas with high humidity, as this can cause the gold to tarnish over time.
Additionally, it’s a good idea to have your gold charm bracelets professionally inspected and cleaned on a regular basis. A jeweler can check for any loose or damaged charms, as well as give the bracelets a thorough cleaning to remove any built-up grime.
Lastly, be mindful of how you wear your gold charm bracelets. Avoid wearing them while engaging in activities that could cause them to snag or become damaged, such as gardening or exercising. Be sure to remove them before applying lotion, perfume, or other beauty products, as these may tarnish the gold and cause it to lose its luster.
By following these tips for maintaining your gold charm bracelets, you can ensure that they remain a beautiful and cherished accessory for years to come.
Conclusion
It is an easy but delightful process to craft your own gold charm bracelet. By following the steps outlined in this guide, you’ve embarked on a path to create a unique piece of jewelry that reflects your style and personality. From selecting the right tools and materials to carefully arranging charms and beads, each step brings you closer to a beautiful finished product. So, what are you waiting for? Embrace the satisfaction of bringing your vision to life and wearing a unique piece of jewelry. Happy crafting!
